International Heritage Centre blog
Getting Under the Covers in Book Conservation
Getting Under the Covers in Book Conservation
This month’s blog post is written by Archive Assistant, Chloe, who has begun learning and putting into practice some of the processes involved in interventive archival conservation.
A history lesson
My first week at CityLit’s beginner’s bookbinding and paper conservation course began as all good things do - with a history lesson. This tale took us on an historical journey back through the history of bookbinding and of the book itself; transporting us back to Ancient Egypt and feuding Pharaohs, whose competition for knowledge led to the somewhat chance development of the parchment-based volume that signalled the beginning of the long-living book. For those not in the know, parchment is an extremely durable writing material made from untanned animal skins and is still used in the production of the UK’s parliamentary bills today!
The history lesson was followed by an introduction to the studio and the tools required for our craft; from the enormous and rather imposing cast iron book press to the tiny bone folder to smooth out individual folios.
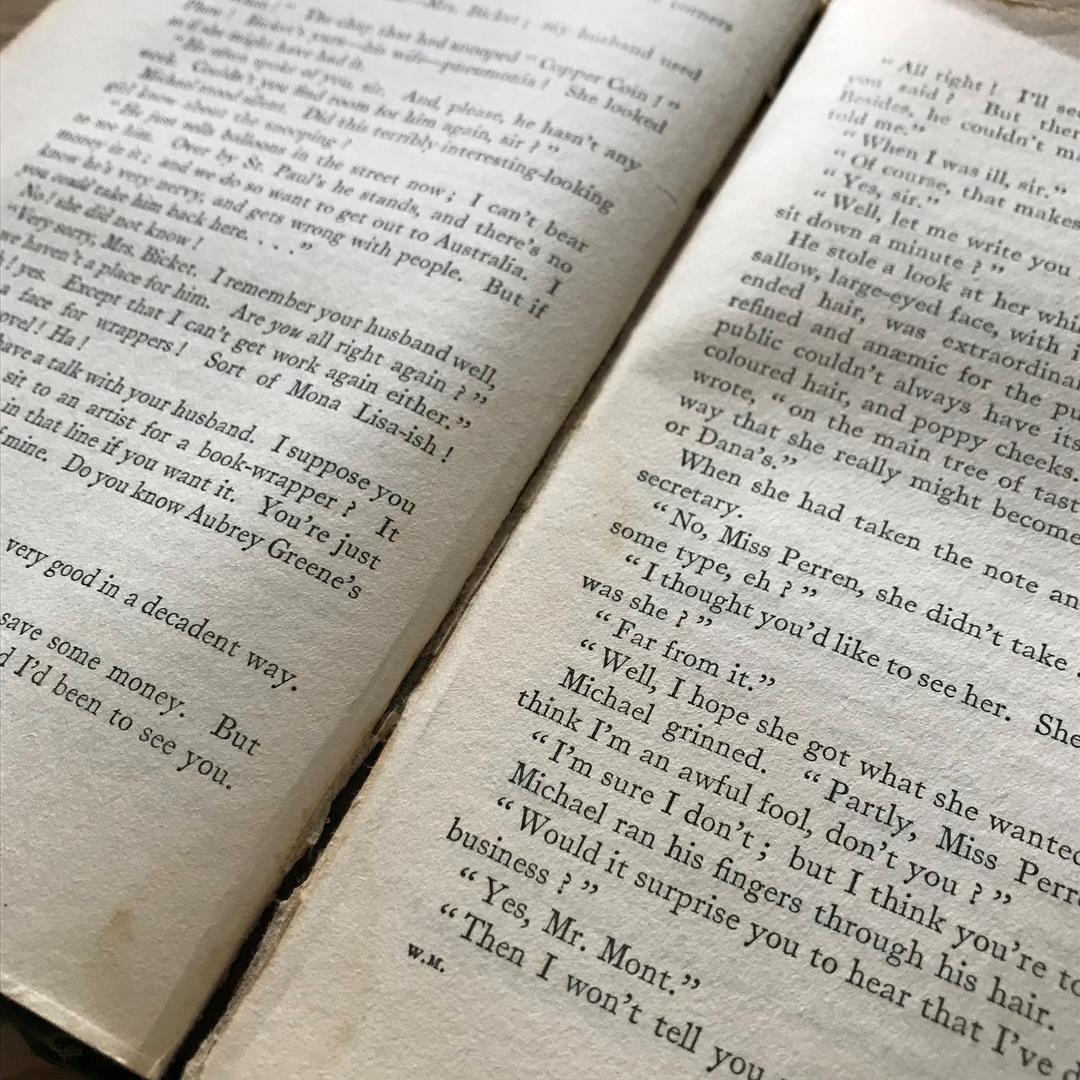
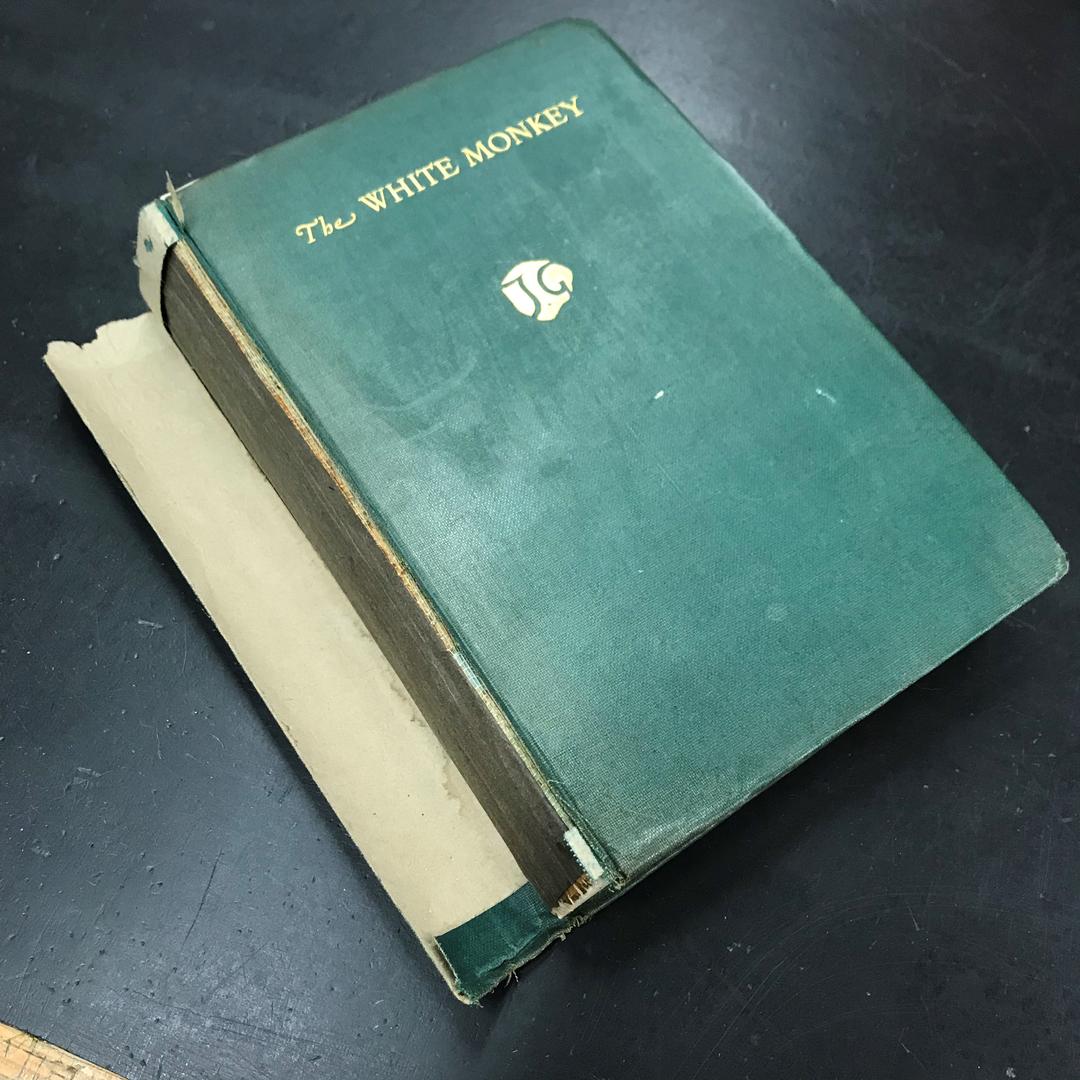
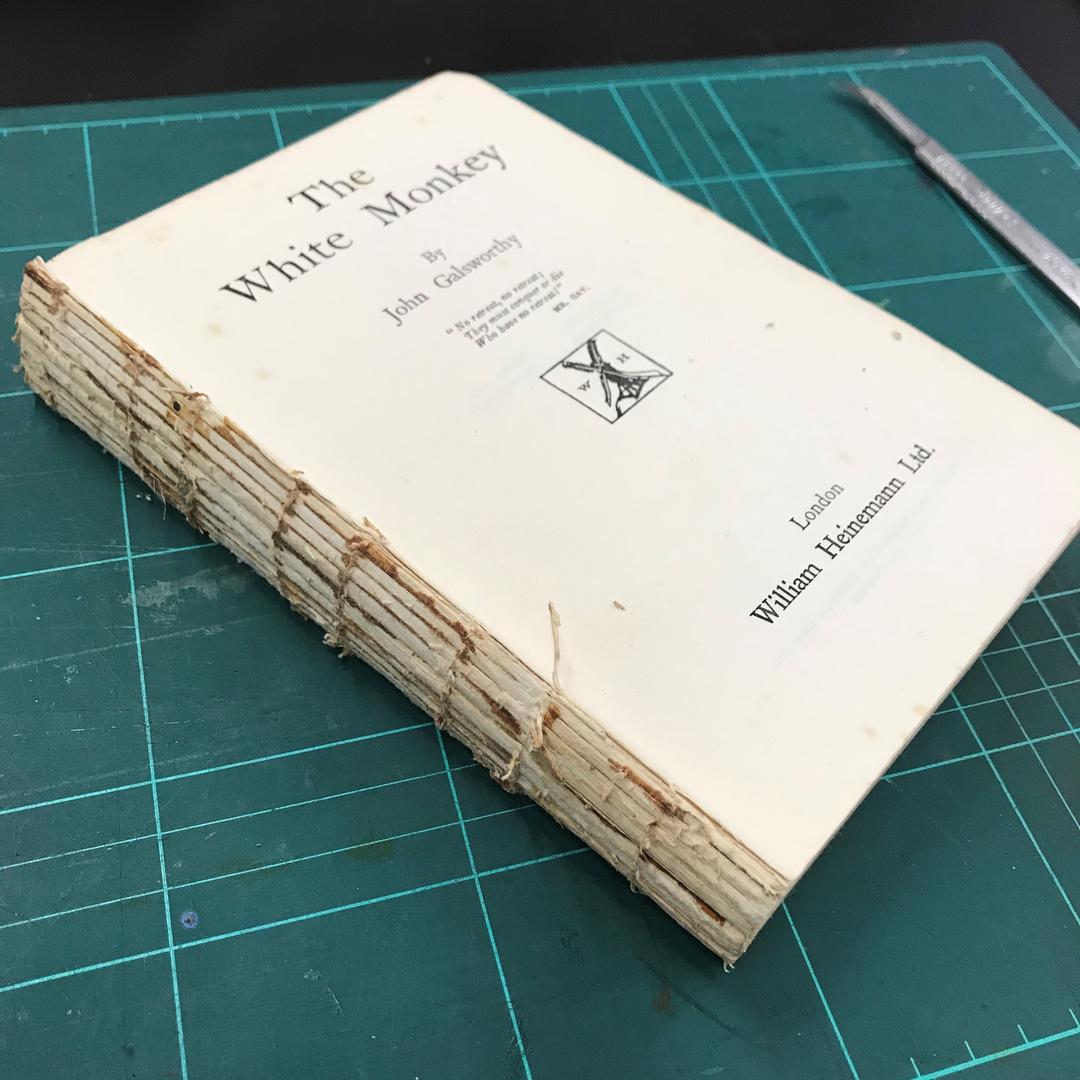
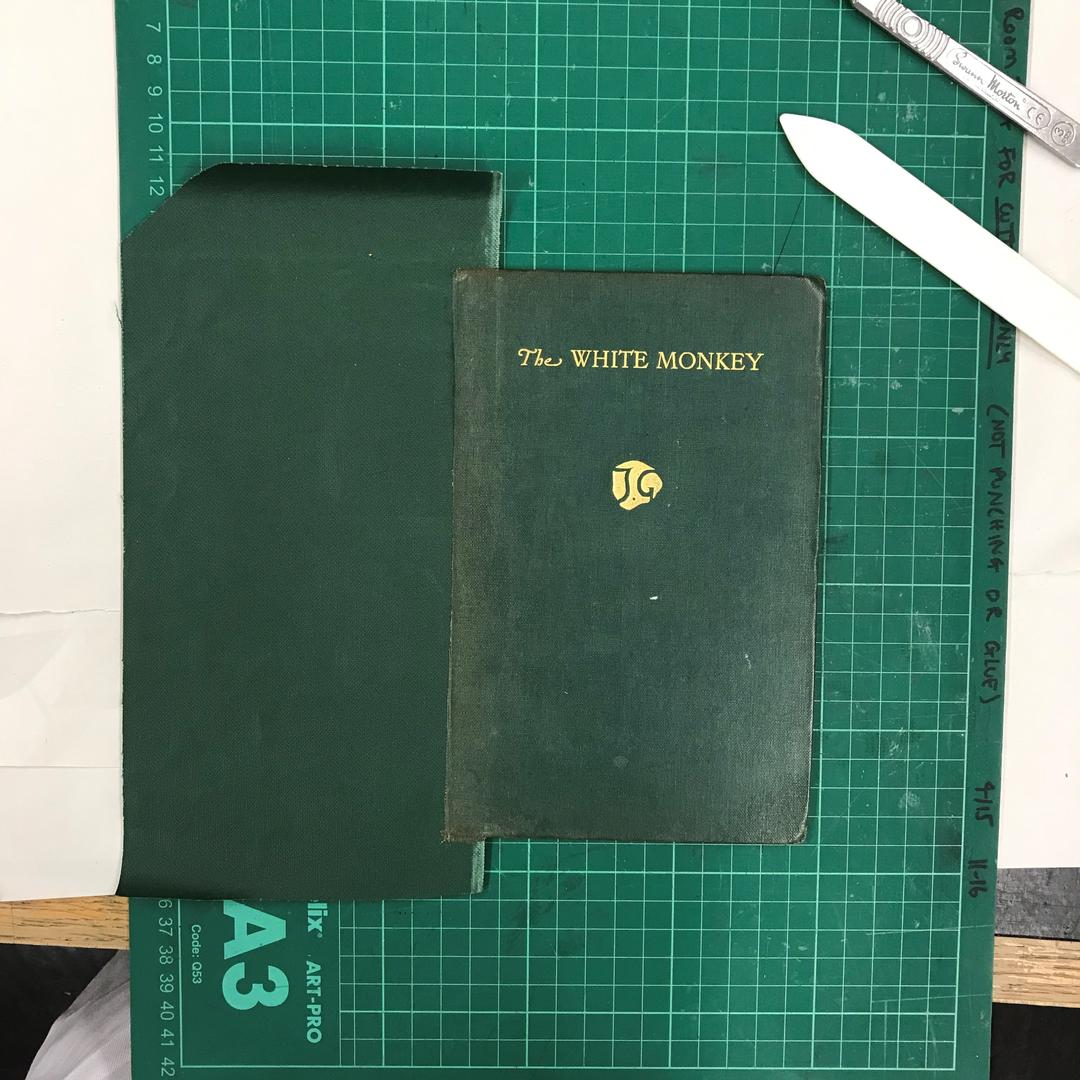
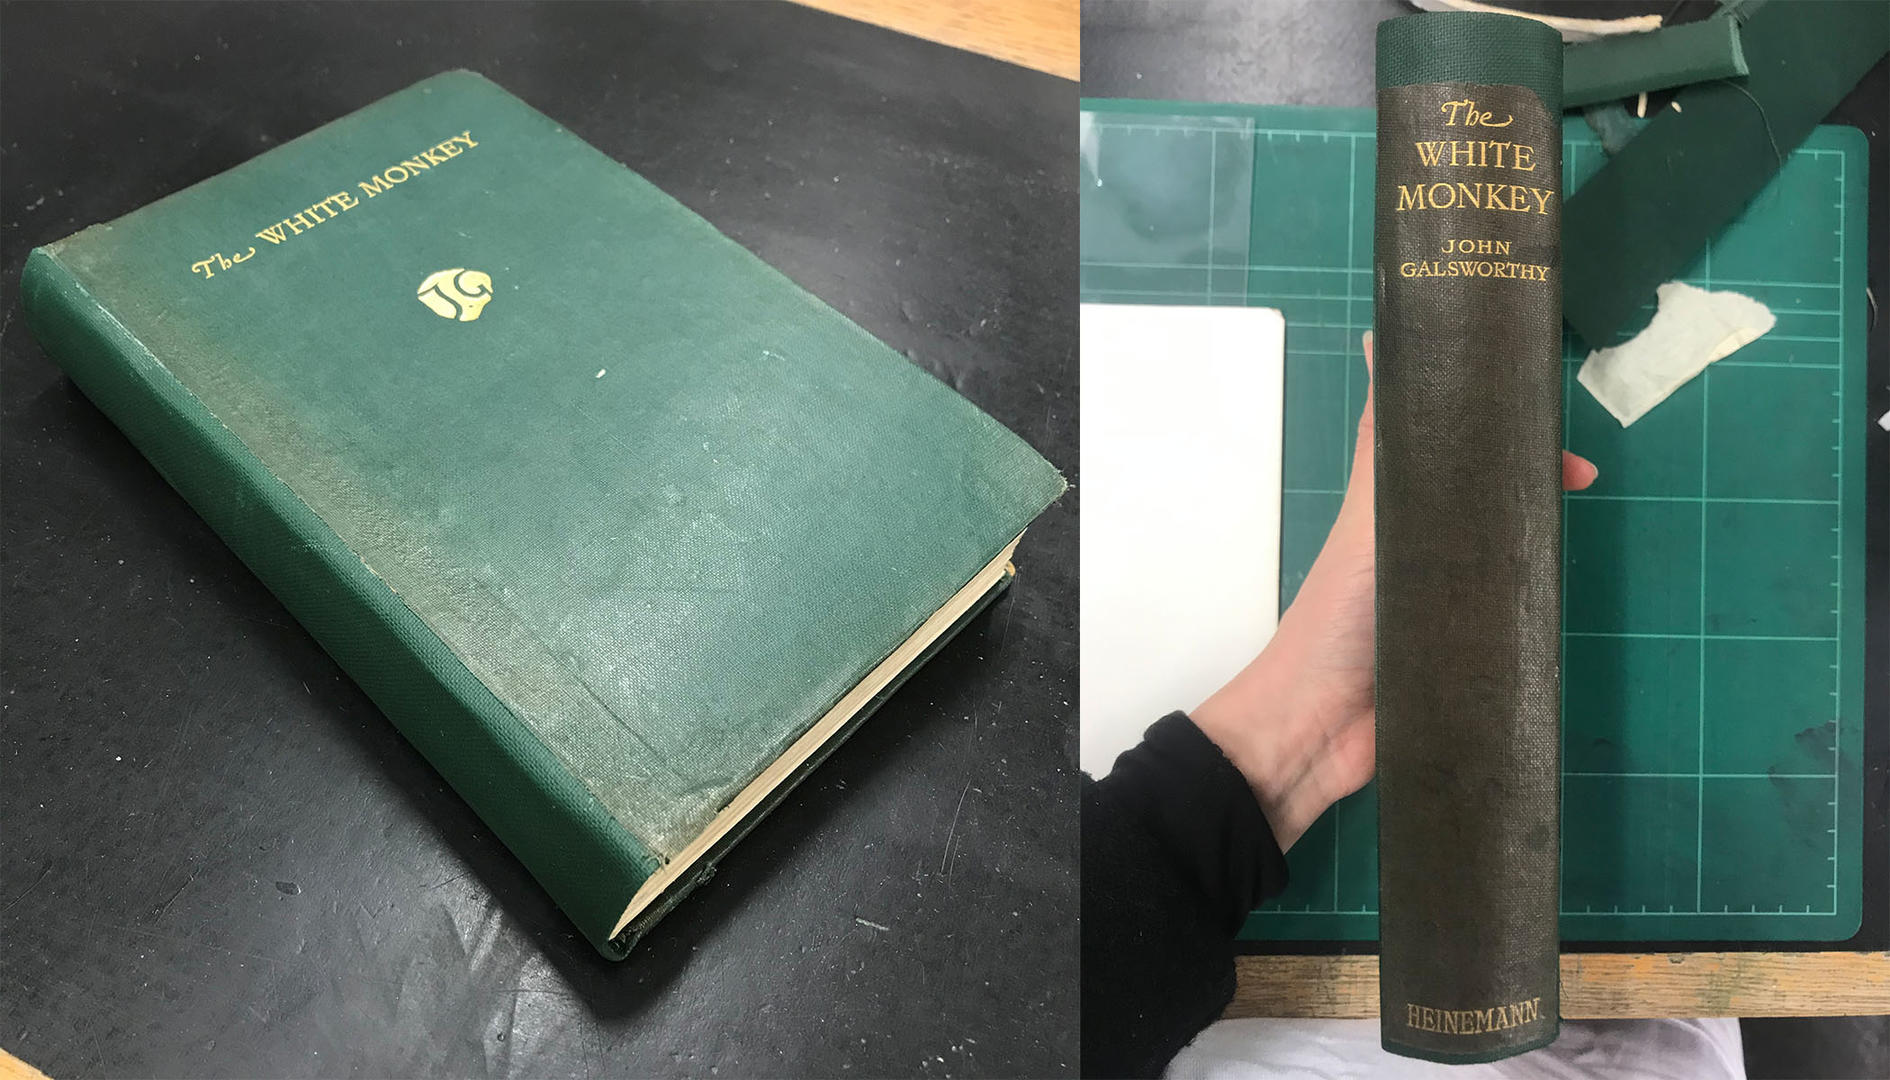
Before our first session came to a close, and with the help of our instructor, we conducted a brief assessment of our individual projects. Mine was a rather sorry-looking 1920s clothbound volume with an almost completely detached spine cover, damaged cover corners, loose inner stitching and some rips and tears. A write off you may say, absolutely not!
A bookbinder’s treasure trove
The second week of the course began before the session with a visit to Shepherds’ book binding specialist and Cornelissen’s art supplies. Both stores are an absolute delight. Shepherds, stacked floor to ceiling with beautiful papers and glass cabinets full of specialist tools; Cornelissen & son, like you have wandered in from Diagon Alley (although Great Russell Street in fact), jam packed with paints, brushes, canvases and tiny bottles of pigment reminiscent of a nineteenth-century apothecary. Whilst both establishments inspire their patrons to dawdle and dream, after a few moments of wonderment, I checked off the items on my list and continued my onward journey. I was now ready to don my apron and begin my project.
The first task involved assessing the book for environmental and mechanical degradation characteristics as a part of a condition report, detailing the entire makeup of the book from the title, author and publisher, to any missing pages (thankfully I did not have any of those), and disrepair to the spine, text block and case.
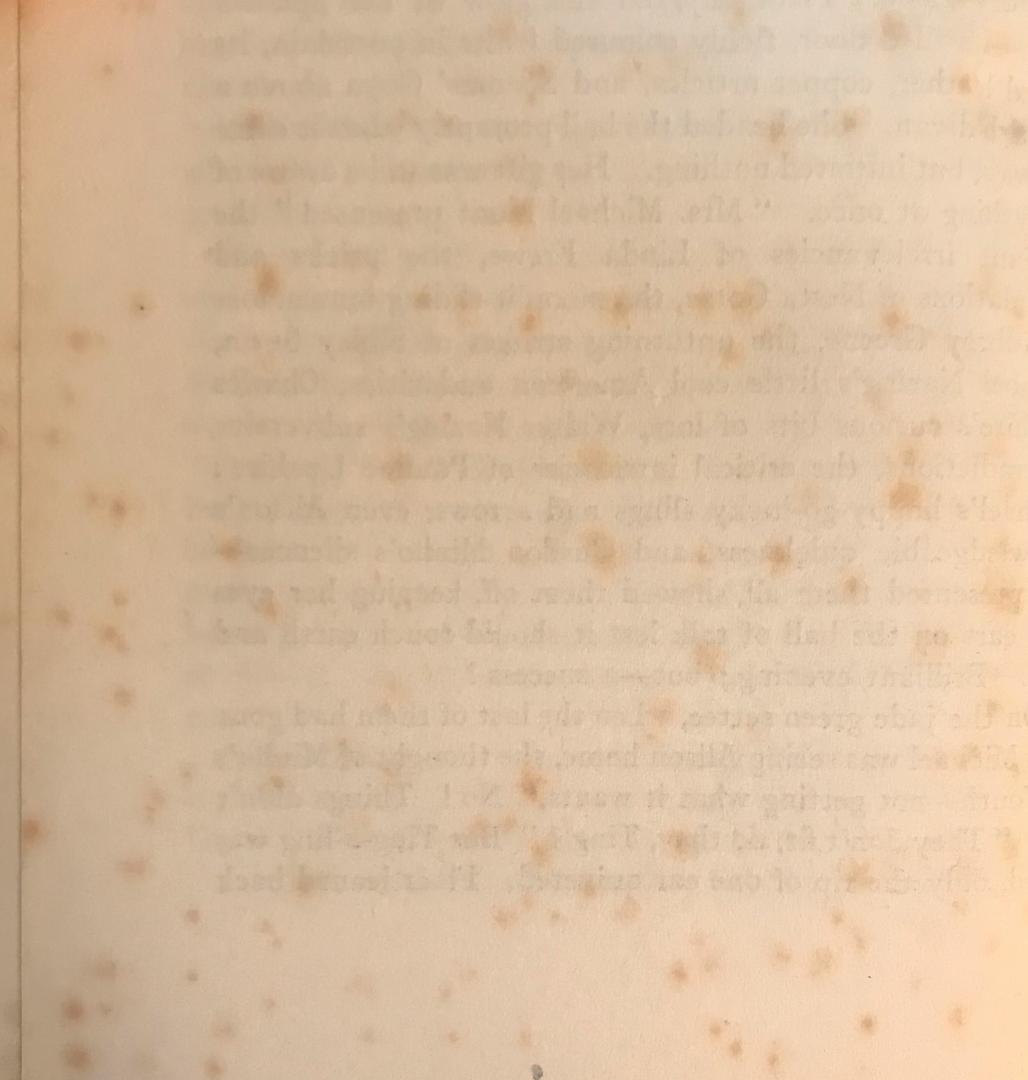
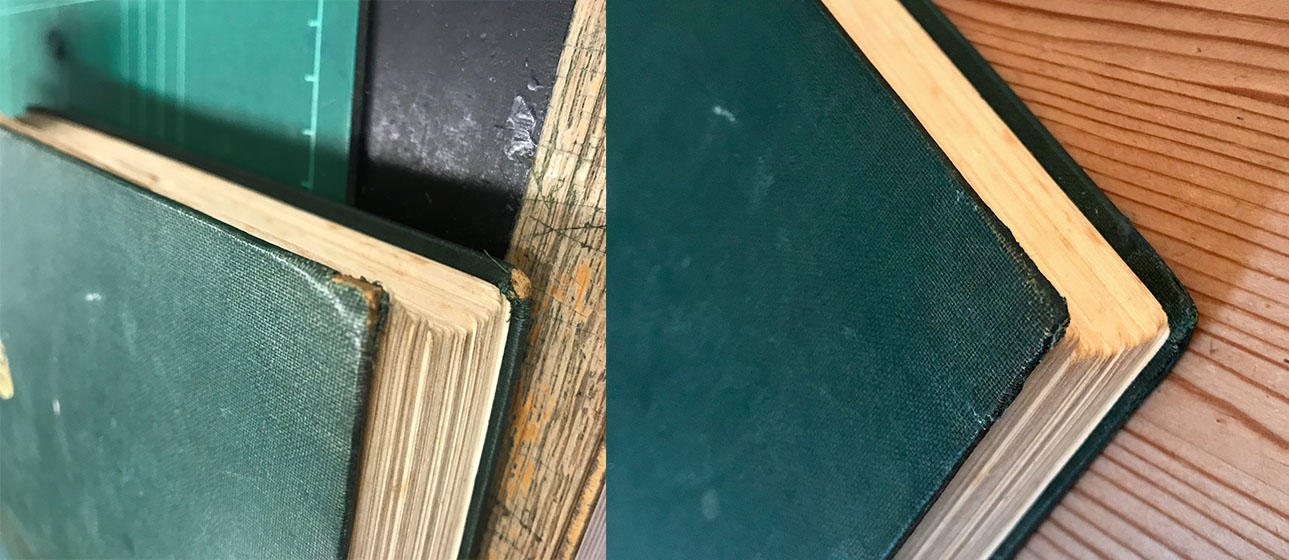
Through this process I discovered that my book had significant damage to the binding, with the spine cover almost completely detached. There was fading to the spine cover and also damage to every corner of the clothbound, hardback cover. The print of the text block was in good condition but the folios had significant ‘foxing’ – a process where acid in the paper causes blotches of brown discolouration on the pages over time.
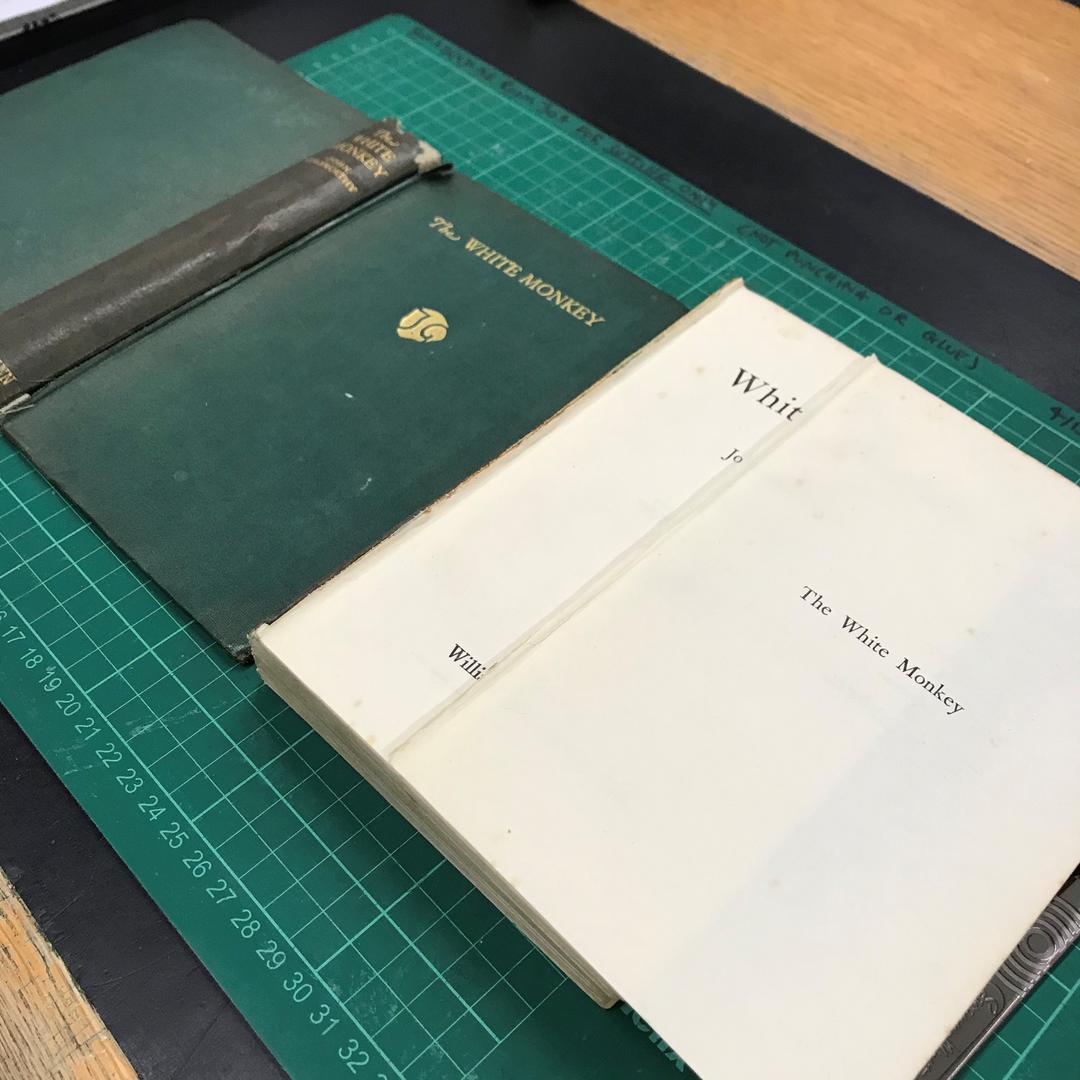
In the second half of the class I got to work removing the clothbound cover from the text block by gently teasing the flyleaf on both sides and using a pointed scalpel to cut through the binding fabric and spine strips. As the spine cover had already come loose this was enough to completely detach the cover.
My next task was to gently release the outer cloth from the board and the inner paper and binder fabric from the board by an inch. This was to allow space to reinsert binder fabric and a fabric reinforcement for the spine.
All too soon the three-hour session was at an end and we packed up our tools and carefully stored our deconstructed books until the following week!
Text block deconstruction
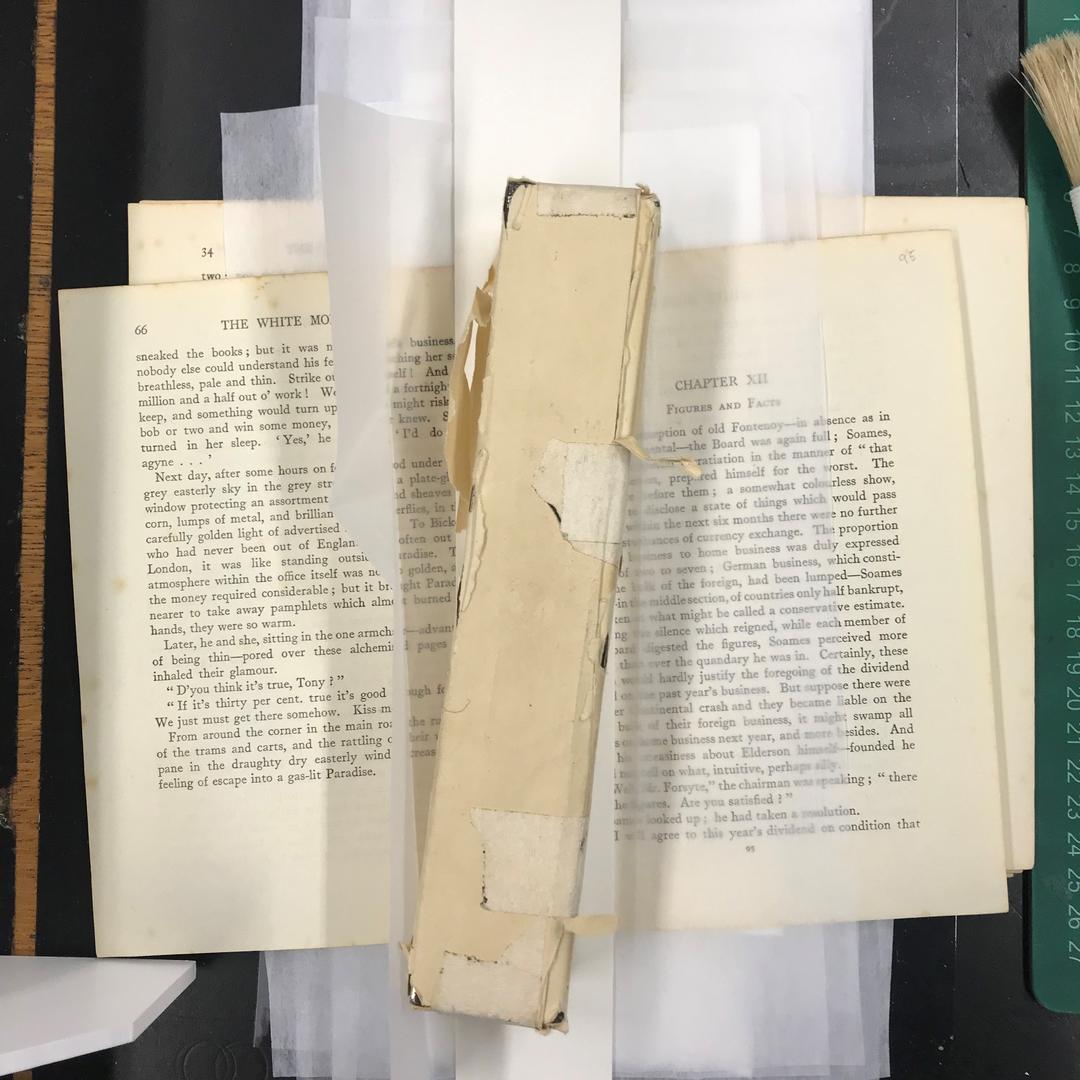
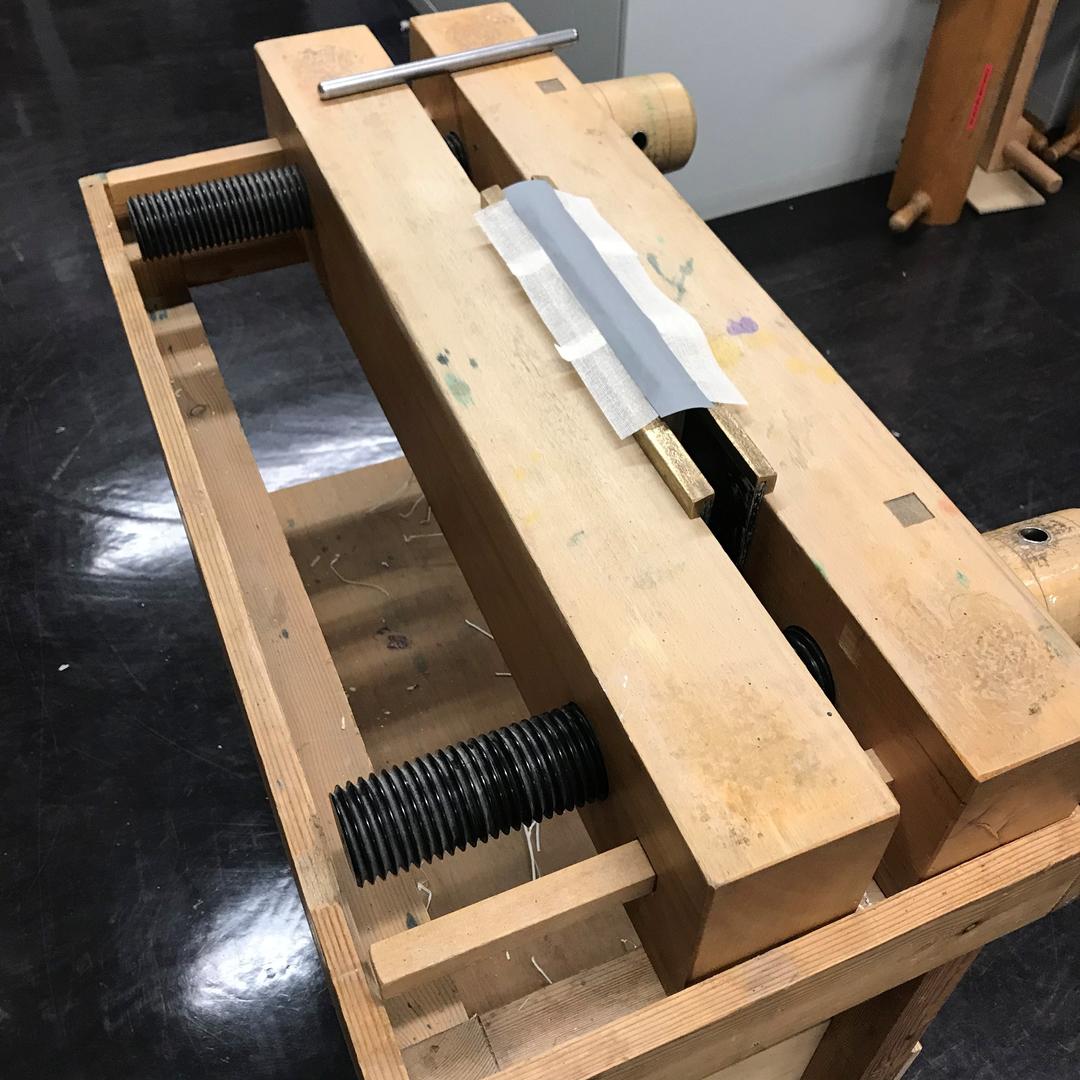
After securely placing the text block in a wooden vice, I smothered the spine with wheat starch paste to moisten the glue fibres before scraping away the old paper covering, mull (an open-weave strengthening cotton cloth stiffened with starch) and glue. I was then able to fully assess the sewing which I found to be partially ruptured. After double checking the page order and numbering, I used a hooked scalpel to pull each thread free and separate out each individual folio or bi-folio.
Paper repairs
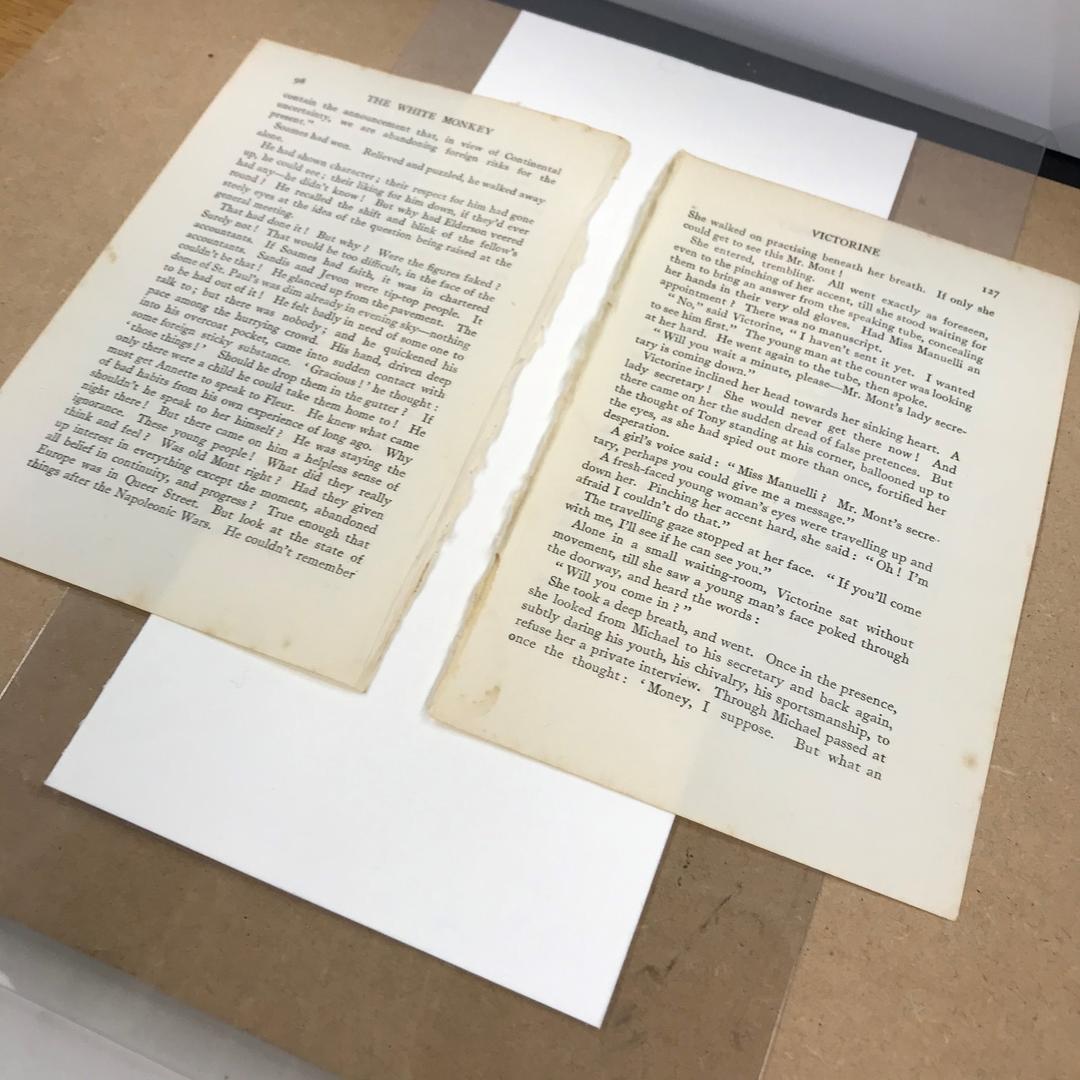
After ordering and matching up the many detached bi-folios, I began the fiddly process of strip repairs along the (separated) join to reattach the sheets into bi-folios. Armed with a water pen, Japanese tissue paper, wheat starch paste, a bone folder, weights, and copious amounts of blotter, bondina and melinex, I completed the 18 strip-ups required to reinforce the text block, along with repairs to all the little tears I had identified in my condition report.
Spinal surgery
Following a week of drying, I retrieved my repaired bi-folios from their bondina, blotter, wooden board and weights sandwich and trimmed the excess tissue from each end. After reordering the bi-folios and returning them to their 16-page sections, I put the whole stack in a hefty cast iron press to flatten them.
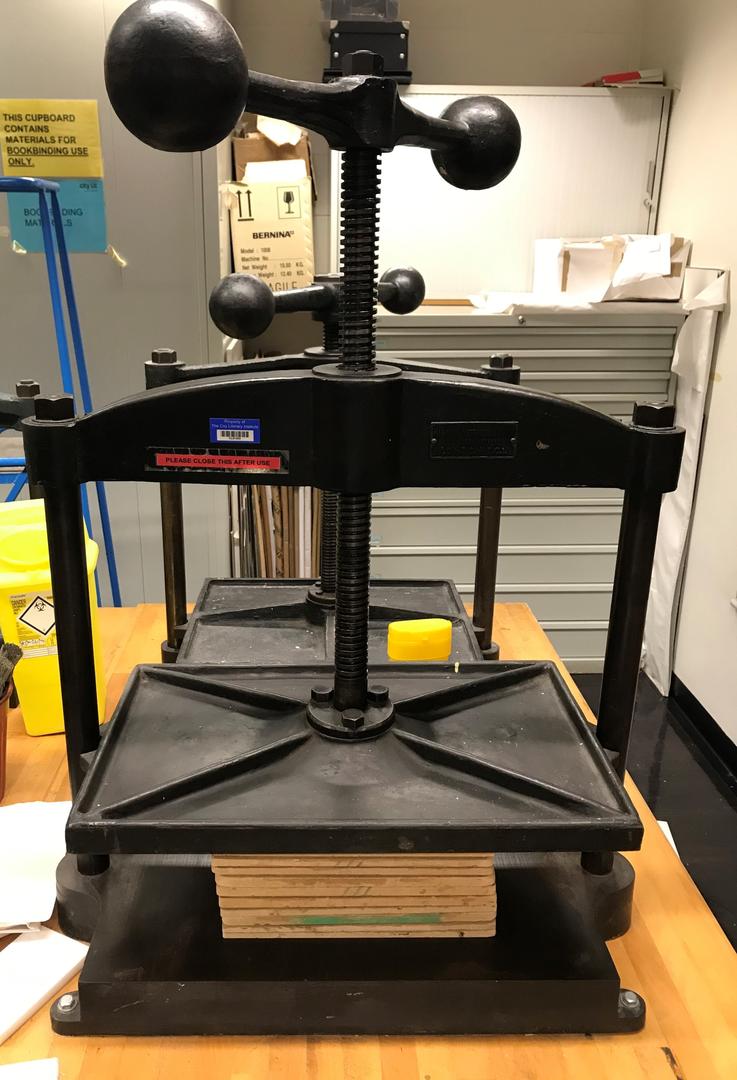
After a half-hour compression, the text block was ready to be reassembled. I set up a sewing frame with two tapes, held in place with H keys to match the original sewing design and put into practice the demonstration we had witnessed earlier in the session.
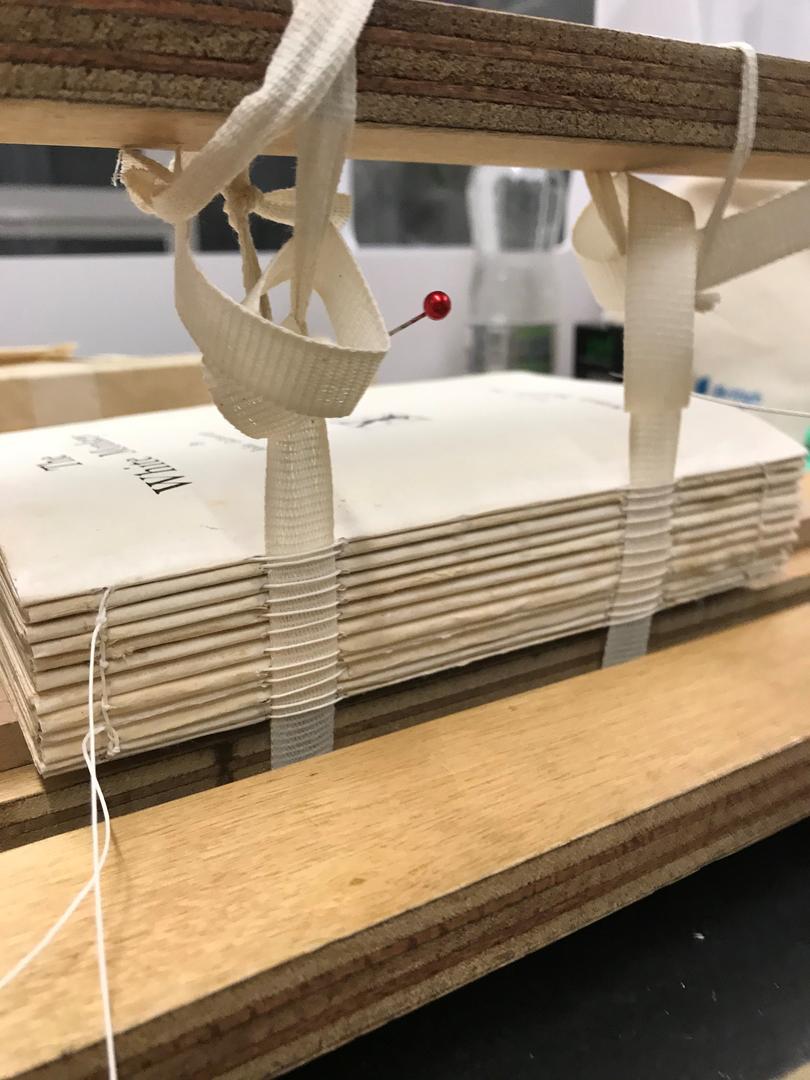
After resewing the repaired bi-folios, I reconstructed the text block by gently knocking the spine back into a curved shape to match the original shape of the book and gluing on a new layer of mull and cartridge paper.
Back together again
By week eight I was ready to reassemble my book! First, I had to find a fabric to replace the former, crumbling spine cover. I was lucky to find a scrap of fabric in an offcuts box with a fantastic colour match that was just big enough for my project.
After ripping the fabric to size (ripping leaves a rough edge which makes the seam under the front and back covers less visible) I used EVA glue to paste down one side of the spine cover in between the front cover fabric and board. I pasted a layer of mull and a new paper spine strip onto the spine of the text block and then pasted down the other side of the new spine fabric to the back board to complete the case. After gluing in the text block and sticking the remnants of the old spine cover to the new, I was almost finished. Using some green tissue paper, EVA and a septum elevator (a medical tool that is surprisingly handy for fiddly bookbinding tasks) I made tiny repairs to each of the cover corners which had become frayed and split with use.
To find out about my second project repairing a twentieth century paperback book see the video below!
Chloe
February 2021
‘the creatures He made’: Animal Welfare in Salvation Army History
As concern about animal welfare grew in the late nineteenth century, the early Salvation Army took an active part in promoting humane treatment of animals.
Women's History Month 2021 roundup
This blog post brings together the resources that we have shared via social media, throughout Women's History Month 2021.
Virtuous bodies and women who miss trains
Find out about Olive Christian Malvery Mackirdy and how she helped The Salvation Army
'Our Salvation Christmas Tree'
What made a Salvation Army Christmas in the late nineteenth and early twentieth century?